

Bonnie enjoying a little homemade yogurt!
Who makes their own yogurt? I DO!
Why? Because it’s healthier than store bought (look at the list of ingredients on nearly every carton – yuck)! Plus, I’m frugal (okay, cheap!).
Yogurt is good for you in so many ways, such as boosting the immune system, helping the digestive tract with good bacteria, and adding needed calcium to our diets (Hear that, ladies?).
I make it in a thermos, which is the perfect medium for growing a culture since the temperature remains constant. It’s super easy and, once you get into the routine of making it, you’ll always have pure, healthy yogurt at the ready. You can watch my how-to video by clicking HOMEMADE YOGURT IN A THERMOS.
A word of warning – homemade yogurt can be an acquired taste since it doesn’t contain all the sugars and thickeners that companies add to make it sweet. So, just add your own fruit or granola, if you don’t like the tartness of plain yogurt.
While the actual amount of work time is about 15 minutes, the cooling and incubation bring the total time to about 13 1/2 hours. So, DO THE MATH! Start the yogurt when you’ll be available to remove it from the thermos.
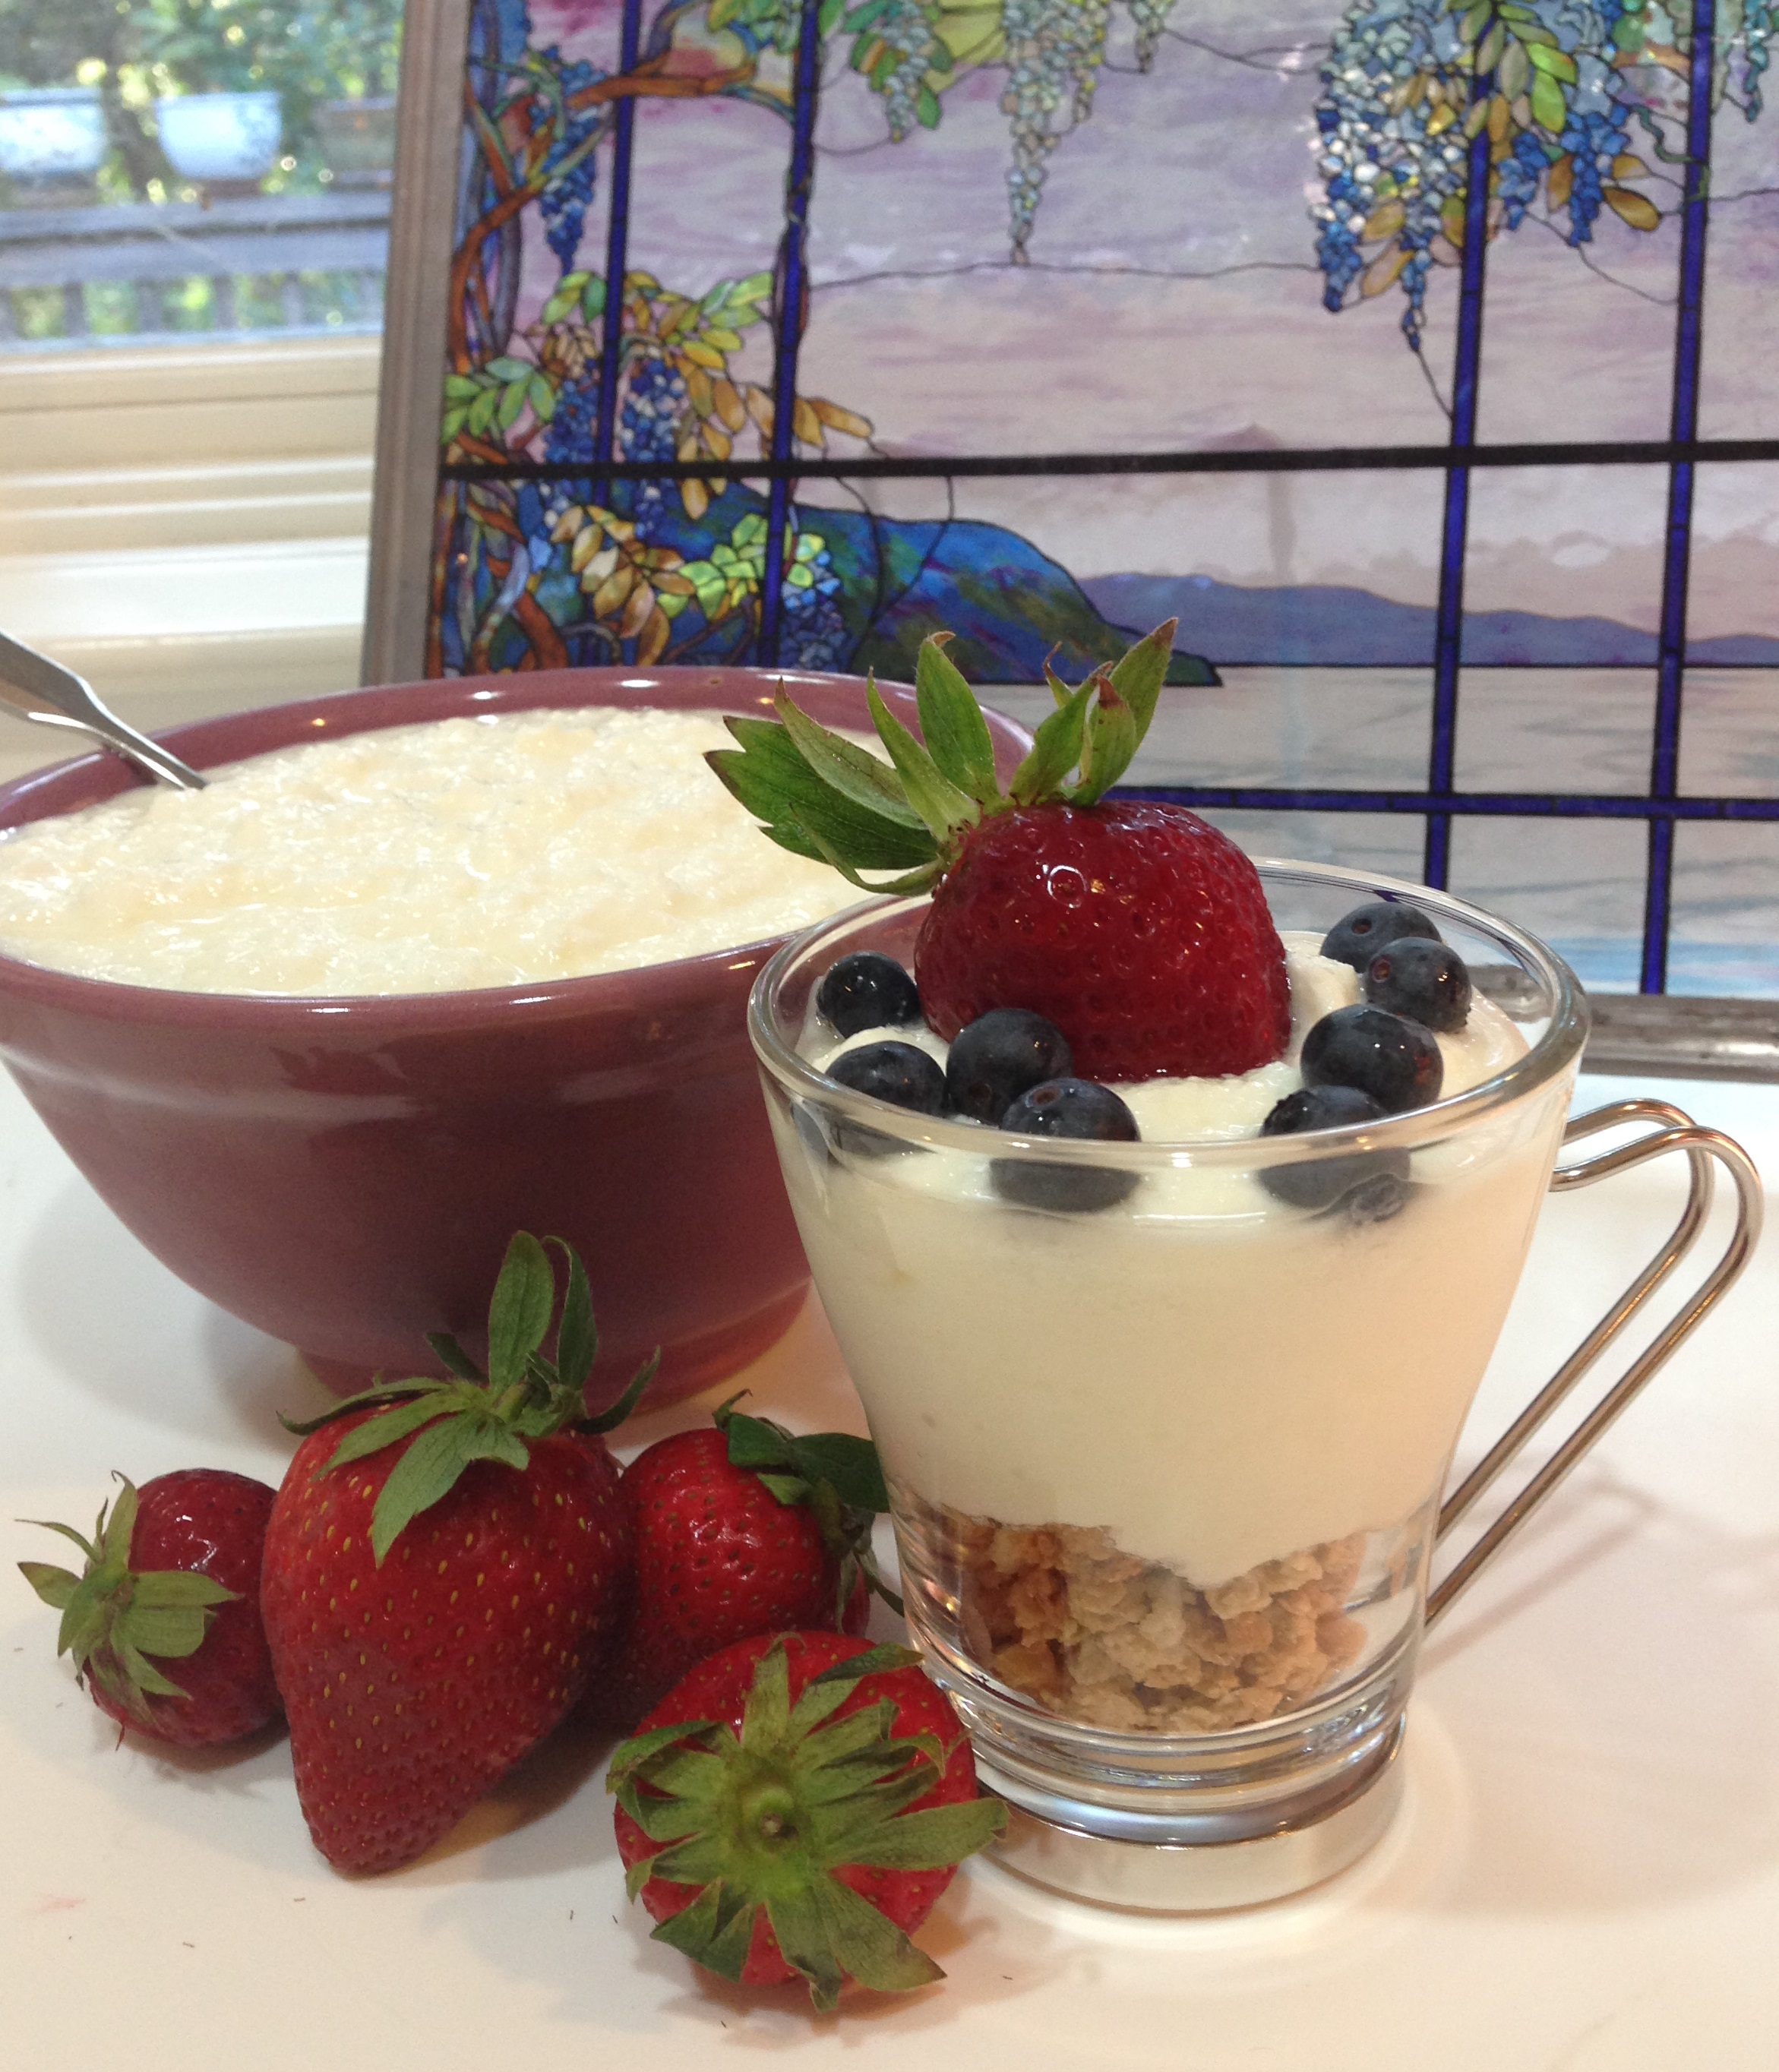
CREAMY HOMEMADE YOGURT!
NOTE: Put aside enough plain yogurt to start your next batch before adding in the goodies.
HOMEMADE YOGURT: Makes 32 oz
- 1 quart milk (I use nonfat)
- 1 cup powdered milk
- 1/4 cup PLAIN yogurt (either from your last batch or purchased)
– Heat liquid and powdered milks in a saucepan to 180 degrees Fahrenheit. Remove from heat.
– Prime 32 oz thermos with hot water.
– When milk cools to 110 degrees F, gently stir in yogurt.
– Empty water from thermos and pour in milk. (Use a funnel – trust me on this!)
– Cap the thermos and set aside UNDISTURBED for about 12 hours. The length of time depends on your taste preference – the longer the incubation, the tarter the yogurt.
– Remove yogurt from thermos and refrigerate.
Be sure and check out my blog, VEGETARIAN COOKING FOR CARNIVORES BLOG.